

Vishal Kothari
This is part 2 of 4 part series on How to speed up WordPress sites. You can check Part 1 here.
In this post, we will be looking at some more ways to speed up WordPress site load times.
1. Choose a good host
This is one of the most important things. Many times, we are swayed away in thinking that a typical hosting provider will do just fine for our WordPress website.
My current site is still hosted on LiquidWeb. They are not specialists in WordPress hosting. But I have stuck to them so far as their support is nothing short of excellent.
When it comes to WordPress, there are companies that only do WordPress hosting. 2 of them which immediately come to mind are Pagely & WPEngine.
Pagely were the first ones to start Managed WordPress Hosting.
When hosting with specialists, things like security, caching & backups are all automatically handled. You wouldn’t need to worry about those. If you host your site on a normal shared server, you will need to handle everything yourself. There are plugins available for that, but you got to get into the details of it in order to implement it effectively.
Like with any hosting, support is crucial. In cases of Pagely & WPEngine, it would be difficult to mention which one is better, but both of them do seem to provide good, fast support.
I am planning to switch my website to one of these. Not because LiquidWeb is bad, but because my needs are better handled by Managed WordPress hosting providers. My personal inclination is towards Pagely. I shall be taking a decision on this in the next 2-3 months. But I will be switching for sure!
2. Use a caching plugin
Web pages are often cached for quick retrieval the next time they are needed.
WordPress does not have any inbuilt caching. There are caching plugins for WordPress that help improve website page load times.
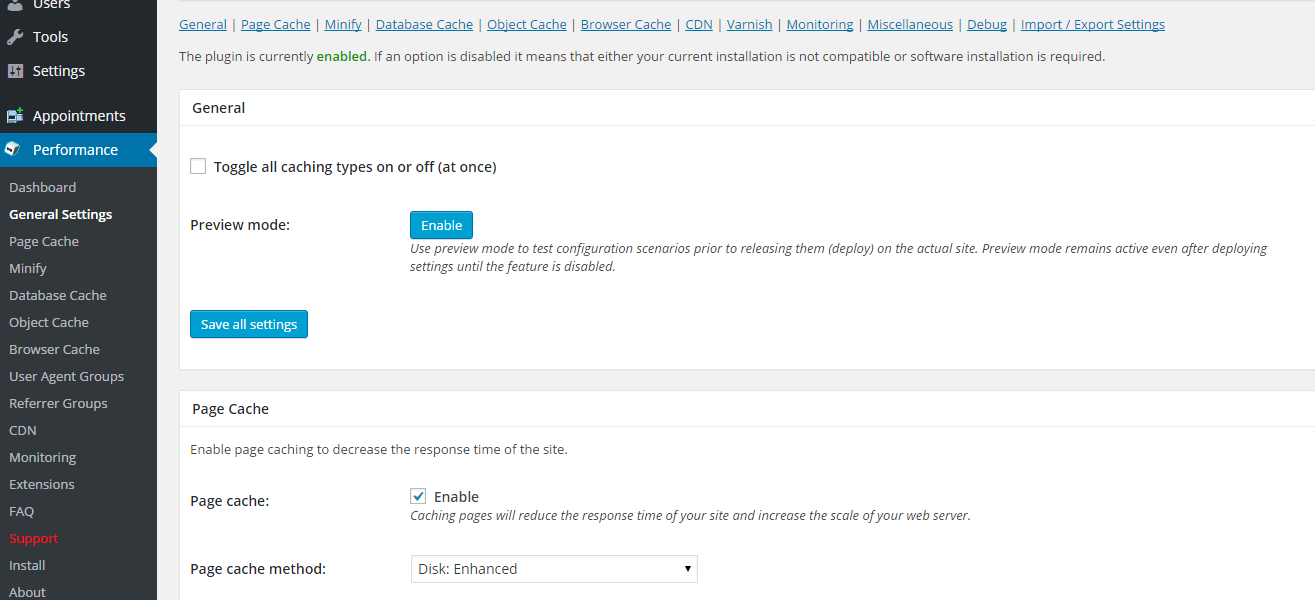
The one I have used is W3 Total Cache. It has about 900,000+ active installs. The other one isWP Super Cache. This one is co-authored by Automattic, the creators of WordPress. It has 1 Million+ active installs.
This is how the W3 Total Cache plugin’s General Settings page looks like:
This is the WebPageTest.org report before & after installing the W3 Total Cache plugin. We have simply enabled all types of caching in the plugin.
Before

After

As you see, the load time was reduced by 0.3 seconds. The number of bytes transferred came down by 150KB. The “Compress Transfer” now shows as A grade, that was earlier showing with an F grade.
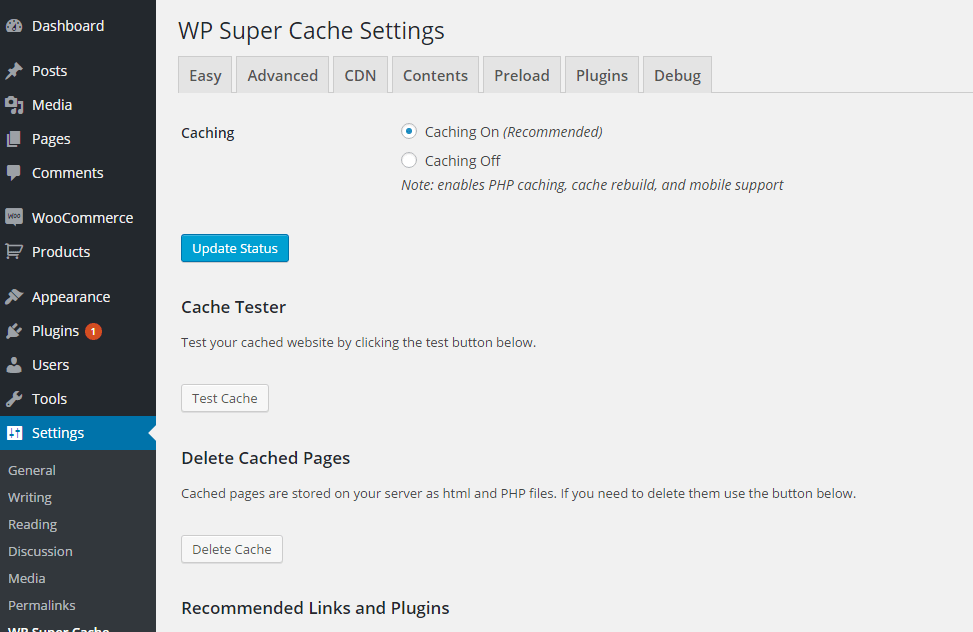
I then deactivated the W3 Total Cache plugin & installed & activated the WP Super Cache plugin.
This is how it’s dashboard looks like in admin:
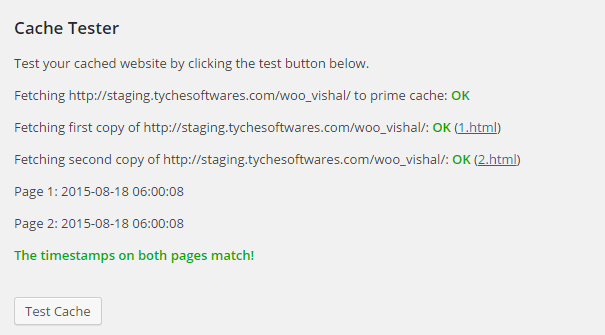
It has an interesting “Test Cache” option. When I ran it, it created a couple of cache copies for my website.
I re-ran the WebPageTest.org tests for my website, with WP Super Cache plugin enabled this time. Below are the results:
Before
After

As you see, the load time was reduced by 0.8 seconds. The number of bytes transferred came down by 20KB. The “First Byte Time” now shows as A grade, that was earlier showing with an F grade.
If both W3 Total Cache & WP Super Cache are configured correctly, then it is possible to achieve even better results. It is hard to tell which one is better here. I would go for a trial with both & accordingly choose the one that gives me the best results.
I must admit that when I used W3 Total Cache on my website, we were facing very weird results at times. Our support forums would show old versions of pages to our customers, which made them think that we have not replied to their issues. Whereas that was not the case. It would show different page versions for guest users & logged-in users. As a result, we decided to deactivate the W3 Total Cache plugin. I might give WP Super Cache a try on our live site.
Generally caching does get taken care off if you are hosting your website on Managed WordPress hosting providers.
3. Use a Content Delivery Network (CDN)
A Content Delivery Network (also known as CDN) is a high-performance network of servers across the globe that allows you to host the static assets (Javascript, CSS, images) of your website and serve them to your customers from a server that is closest to their location.
This not only reduces the load on your server, but it also improves performance by serving the static files to the user from a server that is closer to their location.
Both the caching plugins discussed above allow you to setup a CDN.
It’s best to use the CDN setup available within the caching plugins as they both go together. I was looking for some plugins that only help setup a CDN & some of them have not been updated in 6 years (Free-CDN for example).
Setting up a CDN requires you to create an account & generate a key, which then needs to be updated in your plugin. The process can be slightly different based on the plugin that you are using. And the process can be time consuming too. But once it’s setup, the results in performance shall be huge.
Conclusion
Some of these steps do require time & can be a pain to setup. But they definitely deserve a look. Getting them done for your website can immediately improve load times & then it can be further improved by tweaking the settings.
- How to speed up WordPress sites? – Part 4 - October 25, 2015
- How to speed up WordPress sites? – Part 3 - October 20, 2015
- How to speed up WordPress sites? – Part 2 - August 31, 2015


